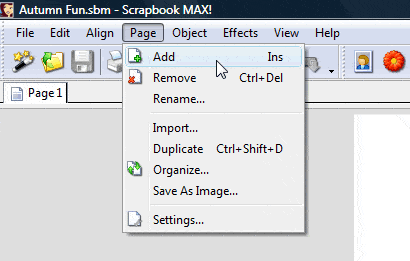
With this Scrapbook MAX! adding shadows tutorial, you’ll not only learn how to add shadows to your photos, embellishments, papers, captions, ribbon text, and journal text – you have full control over how they look! We’ll show you just how easy it is!
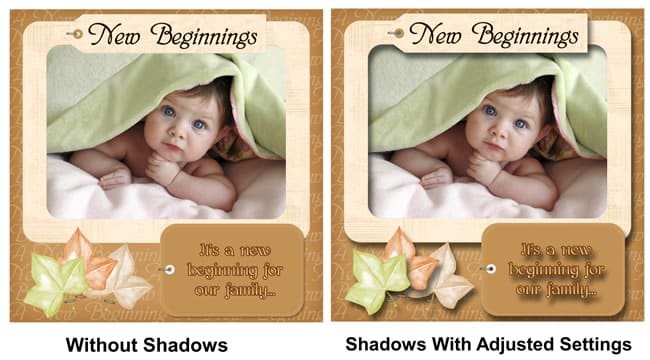
Step by Step Adding Shadows Tutorial using Scrapbook MAX! Software
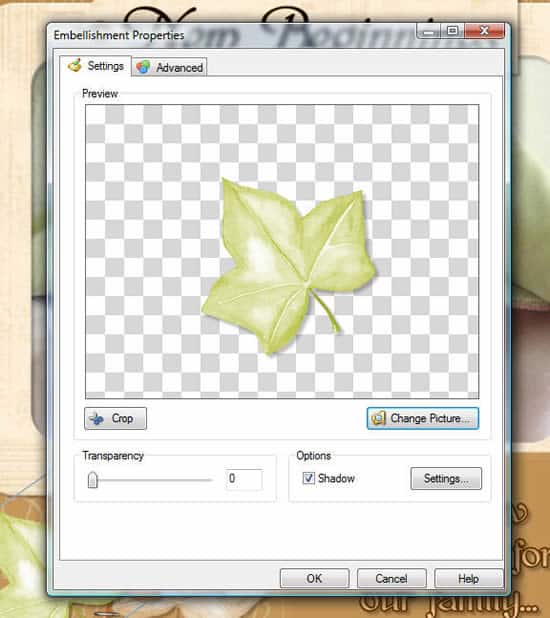
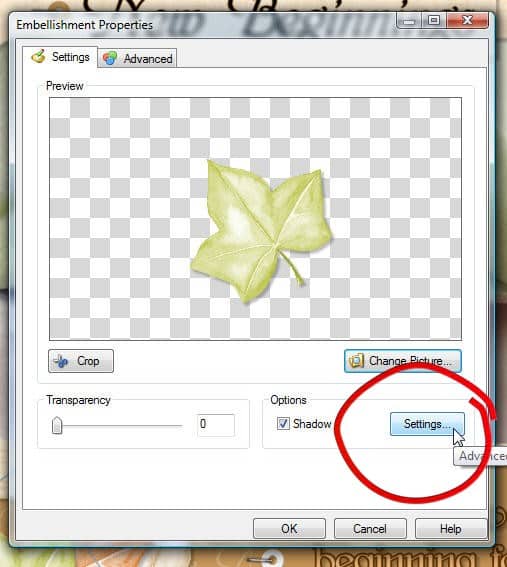
Step 1. Double-click on an object on your page to call up it’s Properties (we’re working with an embellishment, but you can add shadows to all the other object types in Scrapbook MAX!). To add a simple shadow, just select the Shadow box.
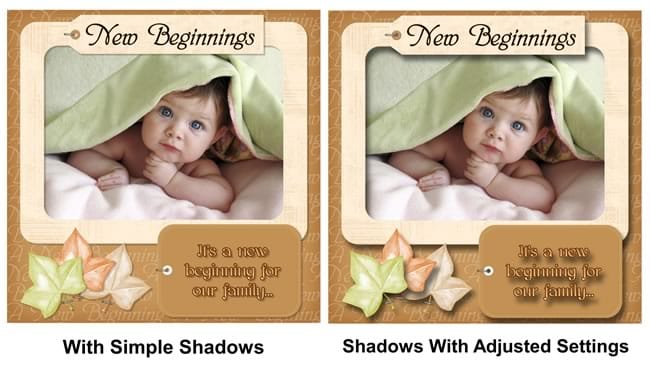
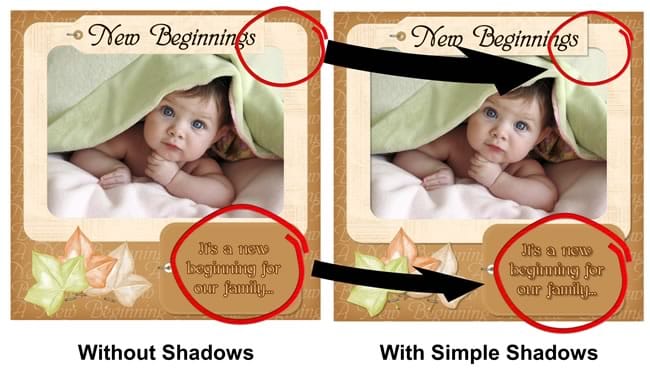
Step 2. We added a simple/subtle shadow to all of the objects on our page. Notice that the when shadows are added to the page, the objects appear to have more dimension.
Step 3. We can further adjust how our shadow looks by clicking on an object, selecting Shadow, and then selecting the shadow Settings button.
Step 4. On the Settings dialog, we can adjust the angle, distance, blur, transparency and even the color of our shadow.
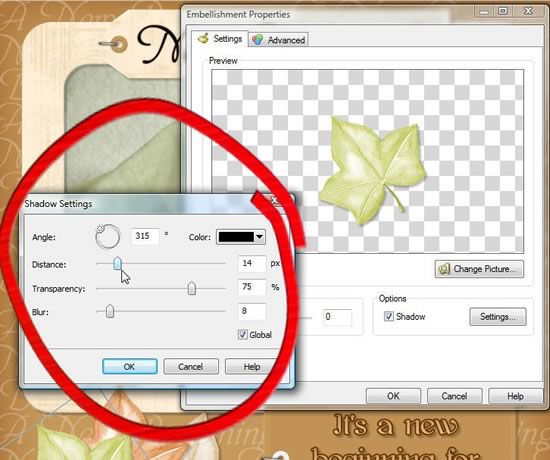
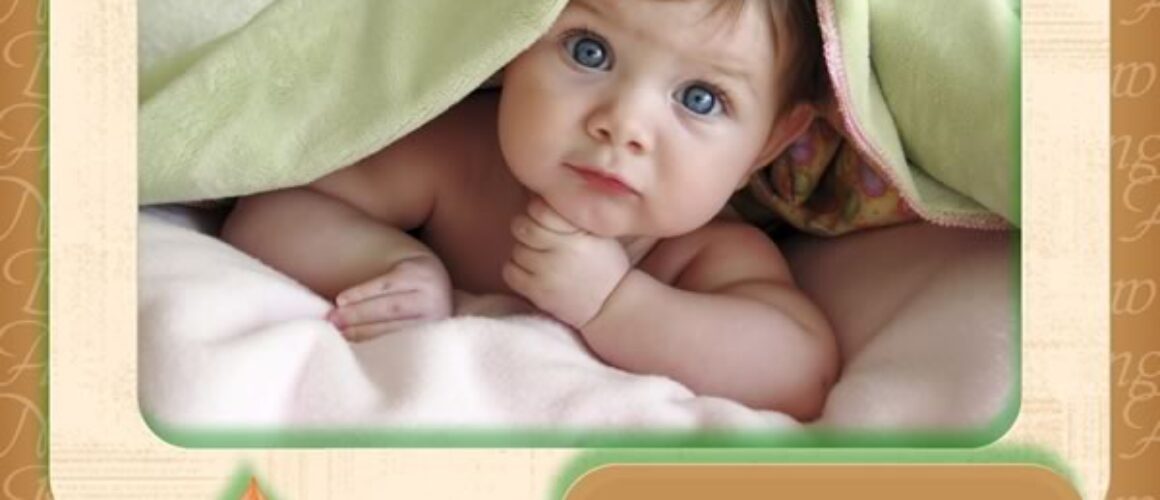
In the example below, I’ve changed the angle of the shadow, increased its distance, played with blur and transparency, and changed its color from the default black to green – all by simply using the sliders, angle wheel, and color selector box.
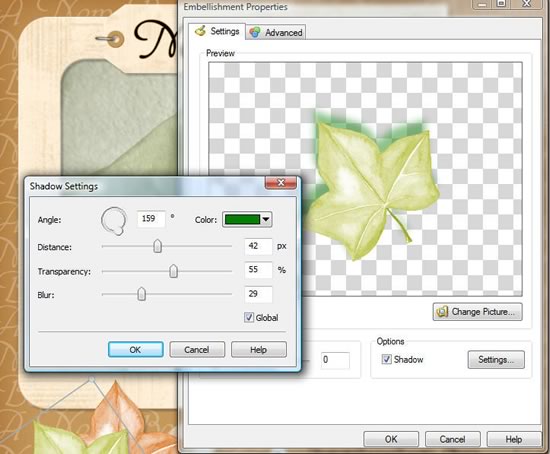
Step 5. If I keep the Global button selected:
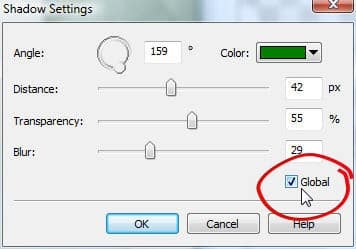
…this means that any object on my page that has Shadow selected on its Properties will share these settings, as illustrated below.

Step 6. If I deselect Global, then I can adjust the shadow settings for each object – i.e., they could each have a completely different looking shadow.
Step 7. To complete my page, I decided to adjust the shadow settings of my leaf object back to a black shadow, and I kept the Global settings on so that all objects have the same kind of shadow. Though I like the effect of the adding a simple shadow to my objects, I like the dramatic effect I was able to achieve by tweaking some of the shadow settings.
