NEW Scrapbook MAX! 2.0 IS HERE!

Michelle McCoy: Butterfly Layout – made with NEW Scrapbook MAX! 2.0
You may have already heard the great news – we are thrilled to announce the release of a brand new, improved and enhanced version of Scrapbook MAX! – NEW! Scrapbook MAX! 2.0! we’ve kept the fast, fun, easy workflow of version 1, but have added in a whole lot more dazzle for your pages!
You’ll be amazed at all of the amazing artistic and creative things you can do with Scrapbook MAX! 2.0. Bend, curve and squish your text or flow it along a curve; colorize embies and photos to your exact specifications; add outlines and patterned fills to text;enjoy complete control over the blur, distance, angle and even color of your shadows – and SO MUCH MORE! (Read our HUGE Feature List here!) PLUS – it’s all spruced up with a super fast graphics engine, awesome output quality, and more to make your scrapbooks works of art.
Scrapbook MAX! 2.0 is already a hit! In this issue of The Groove, we feature layouts from our members made with the new software and using some of the great new features. we’ve also included some handy mini-tutorial screenshots to help you get acquainted with the program.
We also have a fun new challenge and freebie by Michelle McCoy that gives YOU a chance to win a copy of the new software (see below for details!). Read on to get inspired!
Get Creative With Your Text!
In new Scrapbook MAX! 2.0, you can get creative with your text: add outlines, fill your text with patterns, images and gradients, bend, curve and distort your captions, squish and stretch your characters, and more! Below are a couple of creative examples of what you can now achieve with text in Scrapbook MAX! 2.0 – remember, what you see below are not “word art” embellishments; it’s actual typed text that you can now easily and artistically manipulate to get the results you want!

KPierce – Memories Layout featuring curved text

Marion – Cruise Ship Pool Area Layout featuring curved text and a gradient color fill
Mini-Tutorial #1: Step-By-Step
To Creative Text!
Below is a simple step-by-step mini Scrapbook MAX! 2.0 tutorial demonstrating how to change a plain caption into an outlined text filled with a pattern, and curved and bent into a fun shape to liven up a layout. HINT: You can click on the screenshot images to enlarge them and get a closer look.
Remember – this is just the beginning of what you can do with text in Scrapbook MAX! 2.0! The best way to learn is to play around – you’ll be amazed at your creative possibilities!

Step 1: Add caption text to your page. Double-click on the text to call up its Properties box.
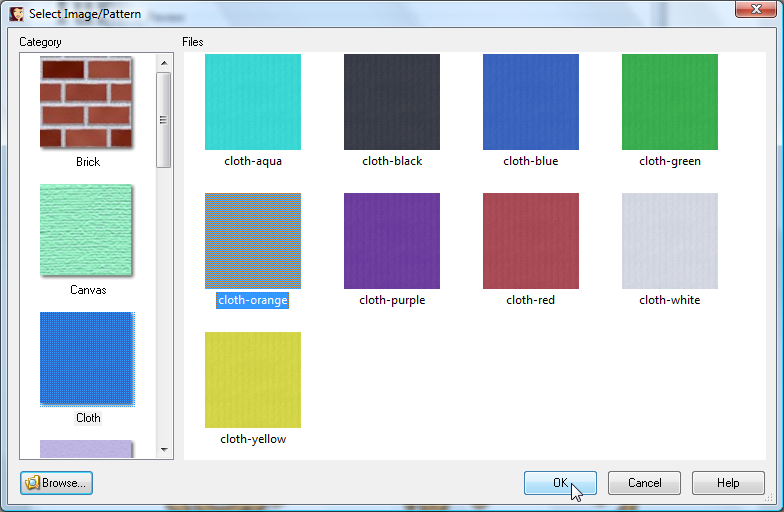
Step 2: Set the Style of text to Image/Pattern, and choose Select Image to browse to any image on your system that you wish to use as the fill for your text.

Browse for an image on your system – we chose an orange paper scrap from the Cloth category:

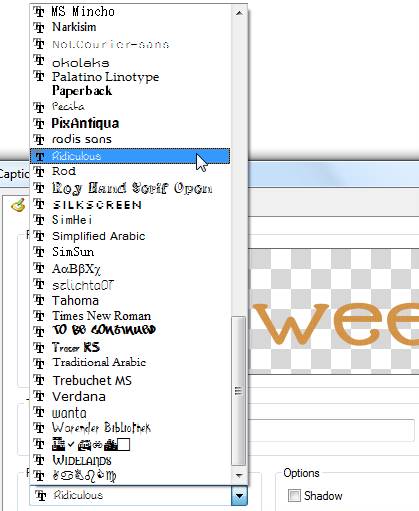
We also chose to use the “Ridiculous” font – one of the fun new creative fonts included free with your software. Select a new font directly from the Properties box:
Step 3: Click on the Advanced tab for more options.

Step 4: On the Advanced tab, you can check the Show Outline box to add an outline to your text. You can then pick the color for your outline from the color selection box, and adjust the thickness of your outline with the slider.

Step 5: We added our caption text to the page and right-clicked on it. From the drop-down menu that appears, we selected “Bendable”. Now we can drag and pull the dots that appear on the lines above and below our text to shape it into fun patterns. We can even right-click along those lines to add more bend points for more possibilities!

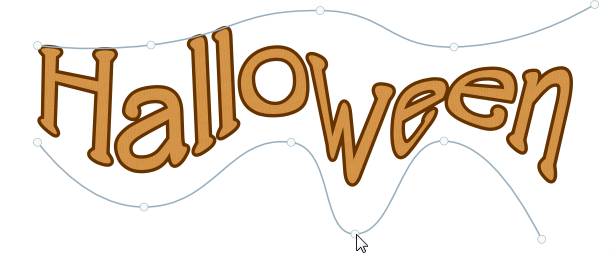
Dragging the bend points to get our text “into shape”!
Wasn’t that easy? And aren’t the results amazing!
Check out our free trial on www.scrapbookmax.com and see what you can do! Or, better yet, buy the full version today and save 20% – PLUS get a free bonus mega expansion pack collection, “Life Is Beautiful” – full of enhanced templates and thousands of pieces of content!
Colorize and Tint – A Rainbow
of Possibilities!
You’ve never been able to adjust the tint and colorize with such precision and ease! Make all of your photos and embies color-perfect with our easy new tools that put all the control in your hands. On the Advanced tab on the Properties box for embies and photos, simply select the Adjust Color box, and use the sliders to alter Hue, Saturation, and Lightness – watch the adjustments as they happen so you can get the exact results you want!
Plus, anytime you are shown a color selection box in Scrapbook MAX! 2.0, choose More Colors to enable an eye-dropper color picker. Simply move the eye-dropper onto a color you love anywhere on your layout, and select it to colorize your object.
How cool is that!

Omajo’s Rock And Roll Waltz Layout- embies have been colorized using Scrapbook MAX! 2.0’s new color/tint feature!
Mini-Tutorial #2:
Colorize An Embellishment!
We made this layout and love it – but think that a blue-toned froggie would be a better match for this page. That’s no problem with Scrapbook MAX! 2.0. HINT: You can click on the screenshot images to enlarge them and get a closer look.
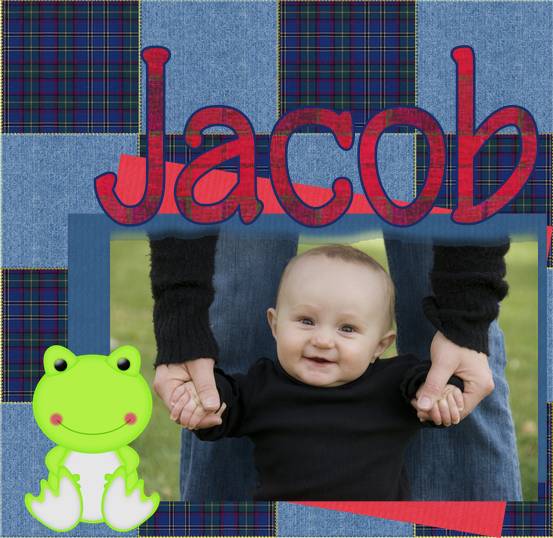
Step 1: Double-click on the froggie embellishment to call up its Properties.
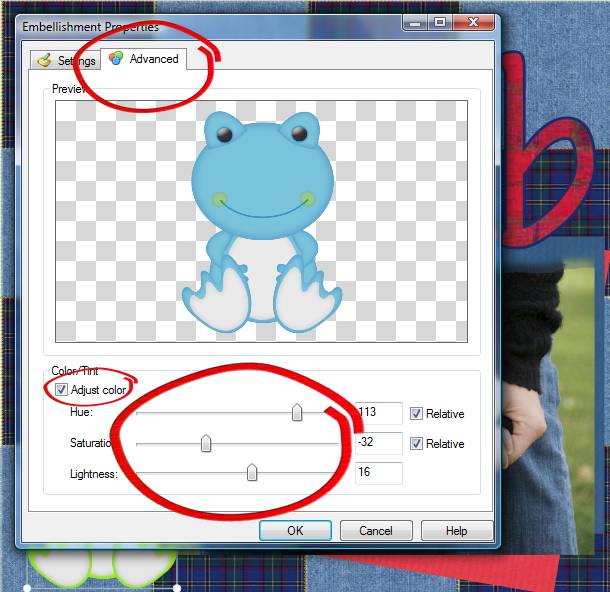
Step 2: Click on the Advanced tab.
Step 3: On the Advanced tab, select the Adjust color box. Then slide the Hue, Saturation and Lightness slider bars until the color is the one you want. You’ll see the changes occur in “real time” as you slide the bars.
We created the perfect denim blue for our frog with a couple of simple slider adjustments.
Step 4: Add the colorized embie to your page and voila!

Easy as 1-2-3! And remember, you can adjust the color of photos too with Scrapbook MAX! 2.0!
NEW in Scrapbook MAX 2.0:
Color Picker “Eye-Dropper” Tool!
HINT: You can click on the screenshot images to enlarge them and get a closer look.
Here’s another colorizing tool in new Scrapbook MAX! 2.0. Whenever you are presented with a color selection box like this:
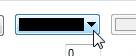
you can use activate the eye-dropper tool to select a color from anywhere on your page as the color you use to colorize your object! (Note: in this example, we’re working with the color selector box that appears on the Caption Properties Box, but you’ll find the color selector box in other places, too!)
Simply click the arrow on the color box, and choose More Colors:

Then, move your mouse to select a color from your page as shown here (we’re selecting the pink shade of the stitched apple embellishment):

Click your mouse and the eye-dropper grabs this color to colorize your object!

In this example, we’ve colorized our text with the eye-dropper so that it coordinates exactly with the stitched apple embellishment – how cool is that?
The Groove’s Monthly Freebie Challenge!
It’s been an exciting few weeks with the release of new Scrapbook MAX! 2.0, so we’ve made sure to provide you with a super exciting challenge and freebie! Michelle McCoy has shared a terrific freebie and a very cool challenge.
FIND THE FREEBIE AND CHALLENGE THREAD HERE!
PLUS! each week in October 2009, Michelle will be randomly selecting a layout made by a challenge participant – the creator of that layout will win a FREE copy of Scrapbook MAX! 2.0 or, if you already have the software, the mega Scrapbook MAX! 2.0 Expansion Pack of your choice (Bundle Of Joy or Back To School)!

“Stamp It” Challenge!
by Michelle McCoy
This month I thought I would try something easy, but different from the ordinary “Fall” or “Halloween” theme for October. I think this challenge will keep your ideas flowing since there are so many ways to be creative with this.
Here is what I want you to do…
1.) Download freebie.
2.) Using the stamp templates provided, you are to make a layout look like a postal stamp..basically we are making our own personal stamp, but as a layout. Templates provided can be used for 12×12, 8×8, 5×7 or 4×6 in size.
3.) You can ONLY use items from the kit provided. But you MAY change the color of anything you use and you may make other embellishments out of the backgrounds as well…
4.) Upload your layout to the gallery and add the image or link to your page, here in this thread.
5.) ALL participants have a chance to win the new updated Scrapbook MAX! 2.0 software (or, the Scrapbook MAX! 2.0 Expansion Mega Pack of your choice – Bundle Of Joy or Back To School). Every week, I will randomly pick someone who places a layout for this challenge. So if you don’t win the first week, don’t’ give up, make another page for the second week, etc etc…Good luck to you!
6.) If you would like to share your template for others to have, by all means, upload the .smt file here as well..
I hope you have fun with this one, and remember, if you have any questions…Pleeeeeeease ~ ask away…((HUGS))
FIND THE FREEBIE AND CHALLENGE THREAD HERE!
October 2009 “Featured Kits”
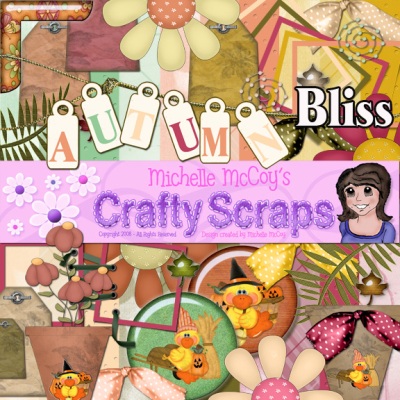
Love Michelle’s freebie mini-kit? Looking for kits with a similar style?
Below are October’s four featured kits, all by Michelle McCoy. Be sure to use the coupon code MMC-OCT, to get 10% off your purchase. Simply add any of the four Featured Kits to your cart in the Scrapbook MAX! Booster Pack Store until October 31, 2009, and type in the coupon code MMC-OCT, to receive your 10% off discount (be sure to type in the code MMC-OCT exactly as shown. Applies to new orders only).

Michelle McCoy – Country Roosters
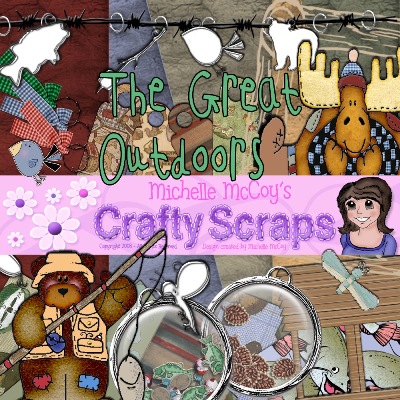
Michelle McCoy – The Great Outdoors
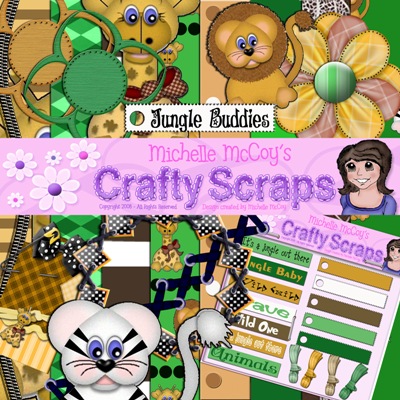
Michelle McCoy – Jungle Buddies
Shape UP!
You’ve always been able to have fun with photoshapes in Scrapbook MAX! – but now, in Scrapbook MAX! 2.0 there’s another option: INVERT your shape! So, instead of cutting around the perimeter of your photo or scrap, you can “cut out” the interior of it (like the cookie dough that’s left on the counter after you’ve cut out the cookie!). This gives you another creative way to design layouts! Check out what Wendy and Val have done with inverted shapes below. Following that, we show you how easy it is with a mini tutorial!
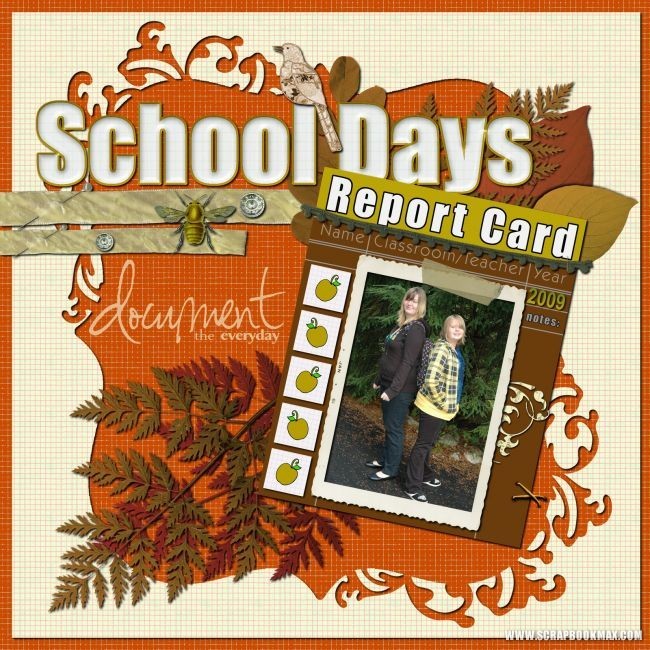
Booster Pack Store Designer Wendy Gibson uses an inverted shape to jazz up her layout. She used her Applelicious and School Days kits for the great elements – find them in her section of the store here.

Valerie Elanie made this gorgeous layout making use of the invert shape feature.
Mini-Tutorial #3: Invert a Shape!
Getting creative doesn’t get any easier than this! Using Scrapbook MAX! 2.0, invert your photoshapes for endless creative possibilities! HINT: You can click on the screenshot images to enlarge them and get a closer look.
Step 1: Double-click on your photo or embellishment to call up it’s Properties. Choose Custom Shape, and then the Select button to find the shape you want to add.

We added a “galaxy” type shape to a blue paper scrap:

Step 2: To invert the shape – meaning that we’ll be cutting the shape OUT of the paper scrap instead of around it – simply check the Invert Shape box (just below the Custom Shape box). And you’re done!

We hope that you’ve enjoyed this special issue of The Groove as we celebrate the release of New Scrapbook MAX! 2.0. Learn more about it on our site, and remember to check out our free trial at www.scrapbookmax.com. And if you buy today, you’ll save 20% off the regular price, PLUS you get the jam-packed content collection Life Is Beautiful absolutely FREE – all the details are on our site!
Thanks for reading – see you next month!